Wednesday, June 14, 2017

New York- Part One

I don't even know where to begin writing about New York. I was trying to think what way I was going to structure these posts, I took about 900 photos and I didn't know whether do just do one big post or split it up into the areas we visited or just do some kind of photo diary with minimal text. In the end I decided to split it up into 3 posts and then one that's just about food. Most of my food photos are from my phone so I wanted to combine them all into one big post and that way it's more like a guide of the places where we ate. 

Obviously this isn't going to interest everyone, but I read so many blog posts about New York before we went and I found it so helpful that I thought it would be good to just share our experiences in the hopes of helping someone else. We stayed for ten days which is longer than most people so I think it's good to have a different kind of experience to share. 

I've wanted to visit New York for years. I had never been to the US or even left Europe, but I knew my first visit to the States would be to New York. My boyfriend and I have talked about it for the past three years as he had never been either. So last year when I turned 30, he booked the trip as my birthday present. 

The major thing we had to decide was where to stay. We were going for 11 nights and 10 days and everyone who we told was shocked that we were staying that long but we figured neither of us had been and we didn't want to cram everything in to a 5 day trip and be exhausted. We wanted to relax a bit and take our time but still see a lot of the city so it made sense to go for a longer time. 

We knew we wouldn't be staying in Manhattan. 11 nights would have been too expensive and because we had more time we didn't mind be a bit outside of the city. Instead we looked on Airbnb for apartments that would have a bit more room, a fridge, a small kitchen and close proximity to a Subway station.  At first we thought we'd stay in Brooklyn, we looked at places in Greenpoint and Williamsburg but there was so many areas to choose from, it was hard to know where to start. My brother had stayed in Astoria, Queens for a couple of months when he visited New York on a J1 and told us a bit about the area, how close it was to Manhattan and that it was a bit less expensive than Brooklyn so we narrowed down our search to that area and it made things so much easier. We found an apartment we both loved after reading lots of reviews. It was great to have our accommodation booked and finally feel like our trip was becoming a reality.

I'm not a big planner (when it comes to trips at least) I'm more of a go with the flow person for the most part. We didn't plan out our trip too much, we both had a mental list of things we wanted to do and places we wanted to see and I was happy with that. This was going to be my first transatlantic flight, the longest flight I'd been on before that was about two and a half hours so the idea of getting on a six hour flight made me nervous. I used to love flying so much and had even considered a career as a flight attendant but in recent years I've become more and more anxious about travelling, especially by plane but I refuse to let it stop me from travelling. I try not to think about it too much, but as the trip came closer I found I wasn't able to fully enjoy the build up. I knew I wouldn't feel happy and excited until we arrived in New York.

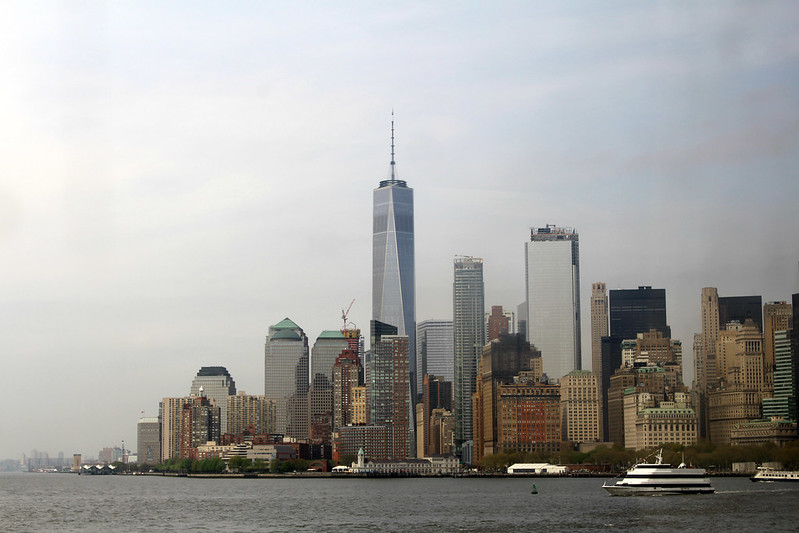
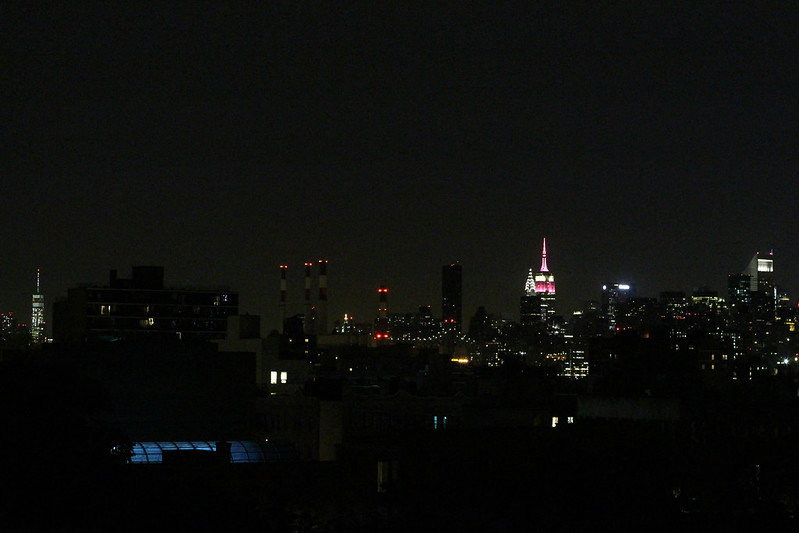
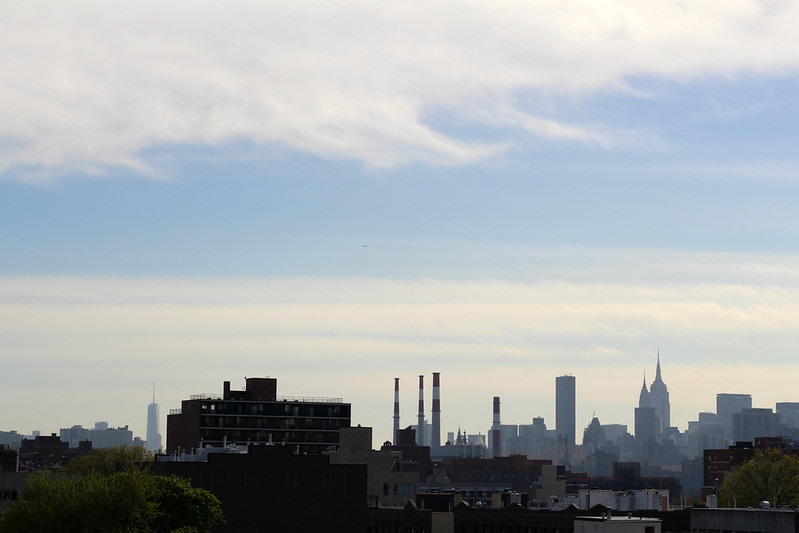
Thankfully the entire journey to New York went perfectly. I was so preoccupied on the flight with all the various meals and snacks and the novelty of watching films on a plane, that I wasn't as anxious as I thought I'd be. When we arrived we got an uberPOOL to the apartment which was about a 25 minute journey from JFK and meant we weren't spending lots of money on a taxi. When we arrived at our Airbnb the apartment was even nicer than it looked in photos. It was so spacious and had a big balcony with an incredible view of the Manhattan skyline including One World Trade Center, the Chrysler building and the Empire State building which you'll be able to see in the photos below.

We arrived in the afternoon and we were exhausted from travelling all day so we just settled in and unpacked and then went out to wander around the area and pick up some basic supplies for the evening (beer and water, just the essentials). Astoria is quite a residential area, but it has so many shops, cafes, restaurants, bars, supermarkets and a lot of places are open 24 hours so we were spoiled for choice. Our first night the weather was awful, it was super windy and raining and we were starving so we had to venture out for some food. We decided to stay in Astoria rather than venturing into Manhattan when we were so tired. The weather was so bad that we had to turn around and go home because we couldn't find the restaurant we were trying to get to (as it turns out we were going completely the wrong way). So we went home and waited for the weather to die down and then Simon went out and got us some Mexican food to take away. We had a relaxing night in so we'd be fresh in the morning to begin our first full day in New York. 
NY1 NY2 NY3 NY4

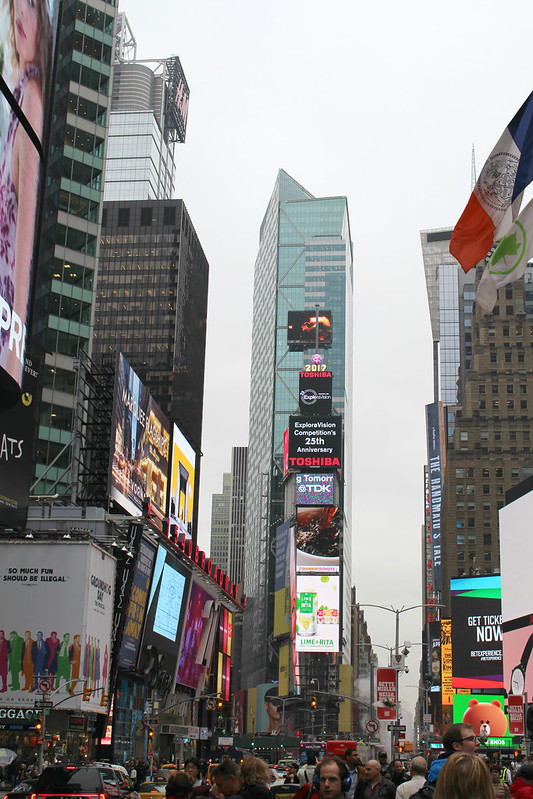
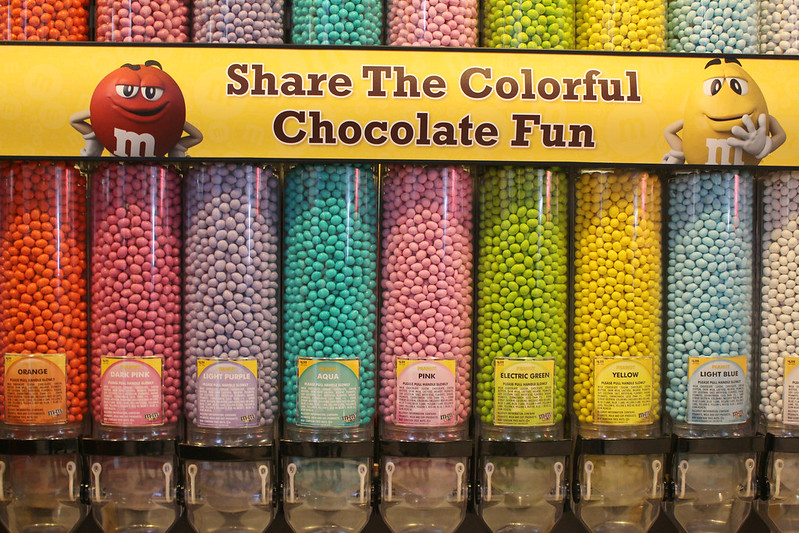
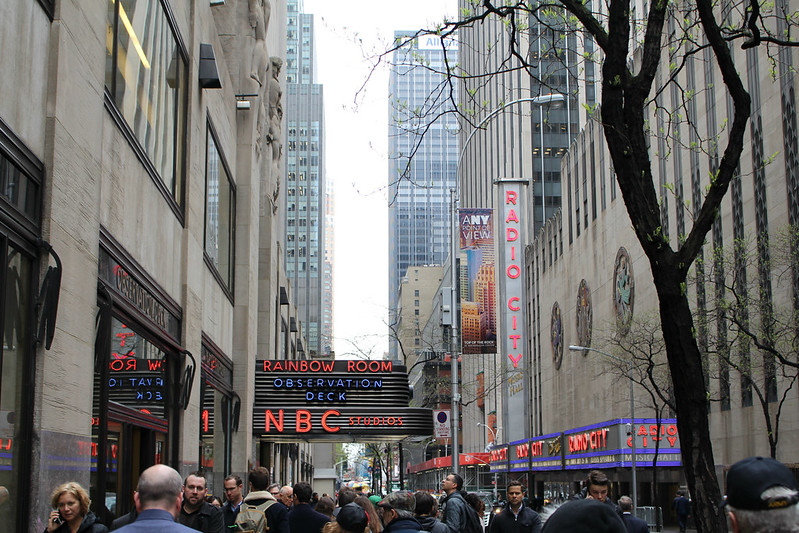
The next day after a late, we got the subway (which was a five minute walk from our apartment) to 5th Avenue at the corner of Central Park and walked all around the area for a few hours. We saw the Plaza hotel and Tiffany's (and Trump Tower). We had a look around the shops on 5th Ave, I got some stuff in Uniqlo which I was very excited about because I've wanted to visit one of their stores for years. We walked around Times Square with an obligatory stop at the M&M store, then on to Broadway and the Rockerfeller Center (where I had to get something from the NBC shop) and Radio City Music Hall. We stopped off at some random little pizza place for a quick slice and then got the subway home. We went for dinner and drinks in Astoria in a place called Sweet Afton that night, but more on that in my upcoming New York food post. I loved our first day because we didn't do too much but we saw lots of proper tourist spots and covered a large portion of midtown. 

NY8 NY6 NY10 NY11 NY12 NY14 NY37 NY15 NY16 NY17 NY18 NY19 NY20 NY21 NY22 NY23

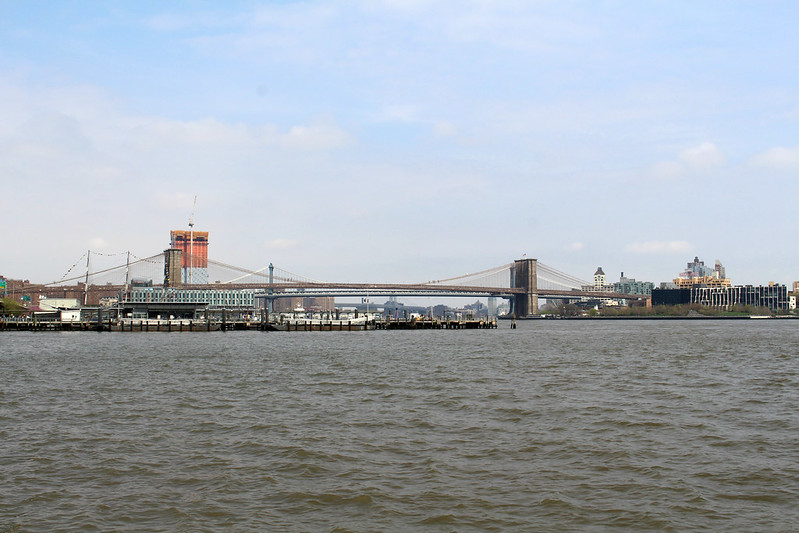
I was very excited for our second day because we were booked in for a HELICOPTER RIDE!! It was a very generous gift from my boyfriend's parents and something I never imagined I get to do in my life. We got the subway to Whitehall St and walked along the river to the heliport. There was an hour and a half delay because the weather was bad that morning so we went off to walk around while we were waiting. We sat beside the river and took some photos of the Brooklyn bridge and then wandered down to the Staten Island ferry to see how often it left because we wanted to go on the ferry after the helicopter ride. 

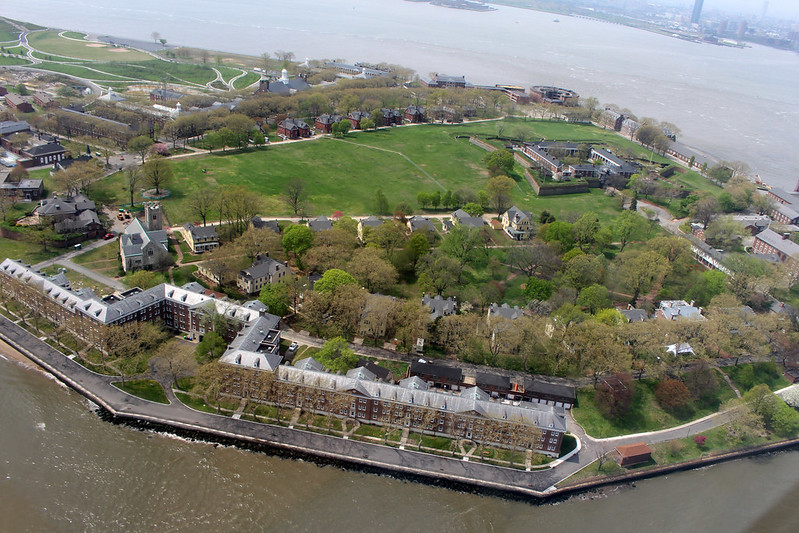
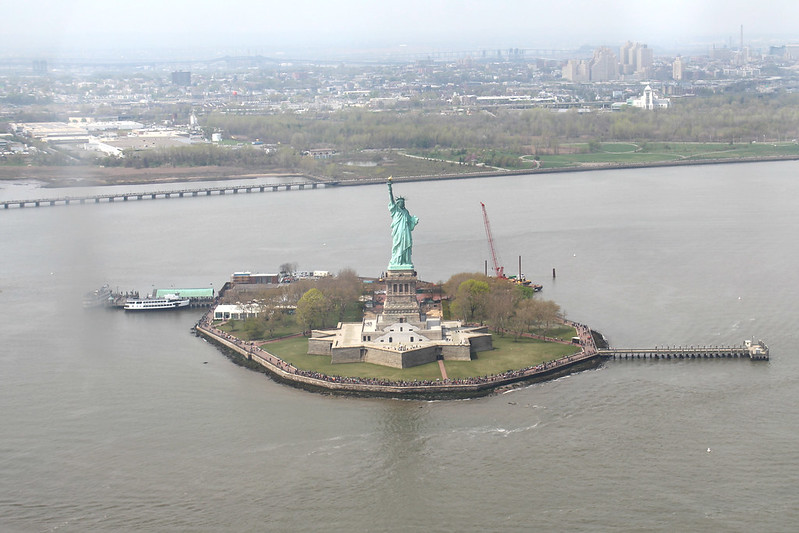
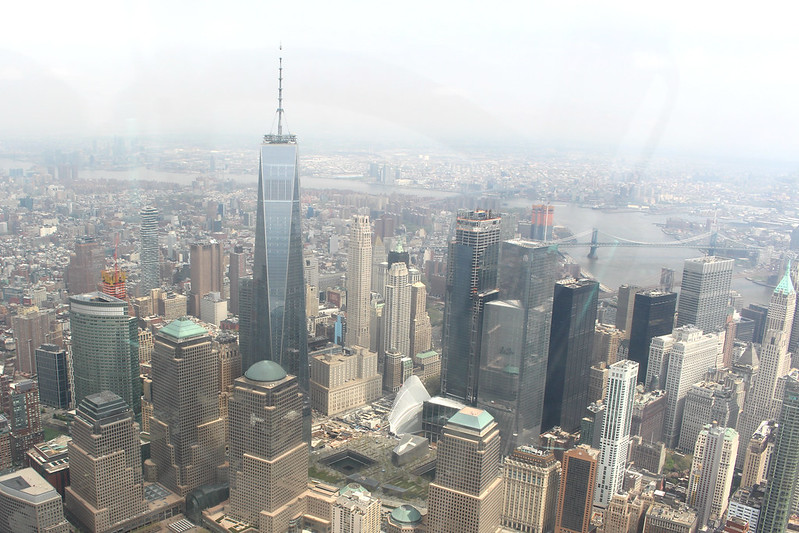
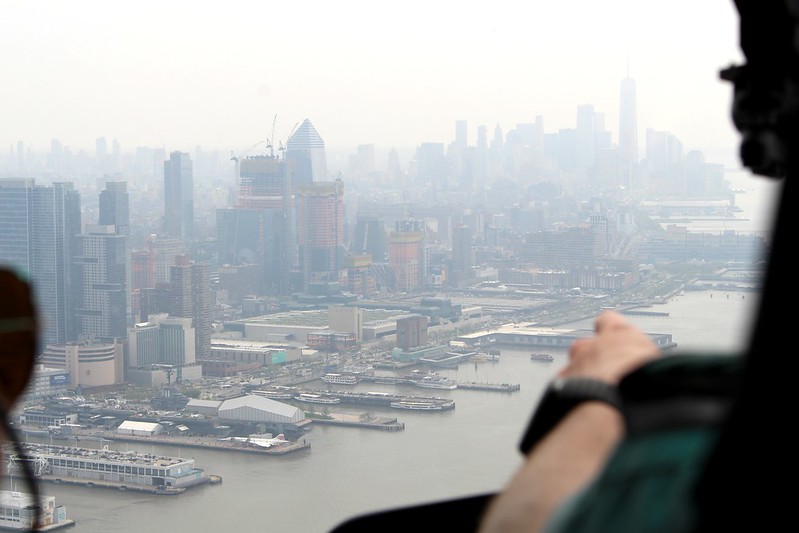
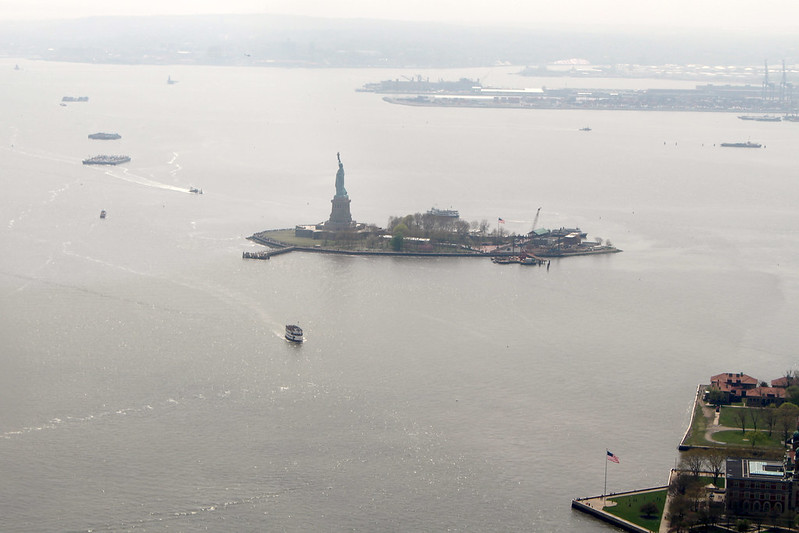
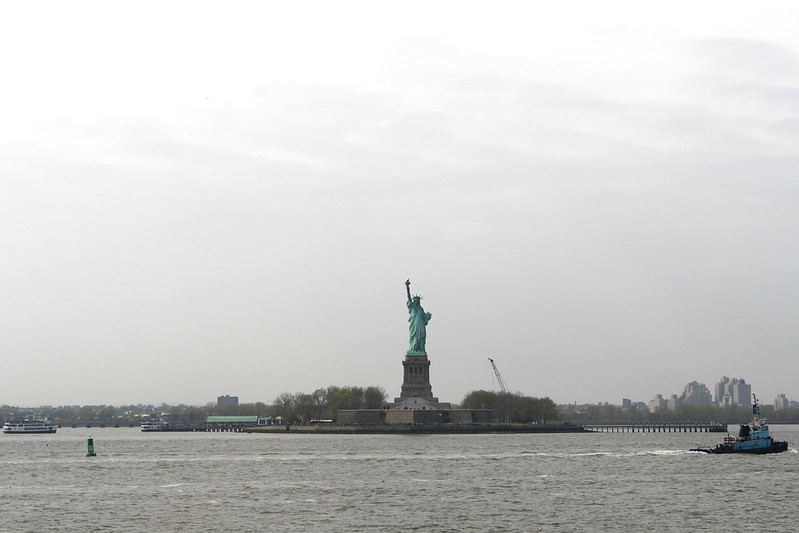
Once we got back to the heliport we waited another 45 minutes or so before our turn. We were in the helicopter with 3 other people, we were sat in the back so the view wasn't as good as the people who were in the front but I won't complain too much because it was such an incredible experience. We flew around Governer's Island, Libery Island and Ellis Island and then up the Hudson with a view of New Jersey on our left and Lower Manhattan and then Midtown on our right. Then down the river again and back to the heliport. The whole trip was about 15 minutes and I could have stayed up there with that view for so much longer. There was so much to see I didn't know where to look. It was honestly one of the best experiences of my life!

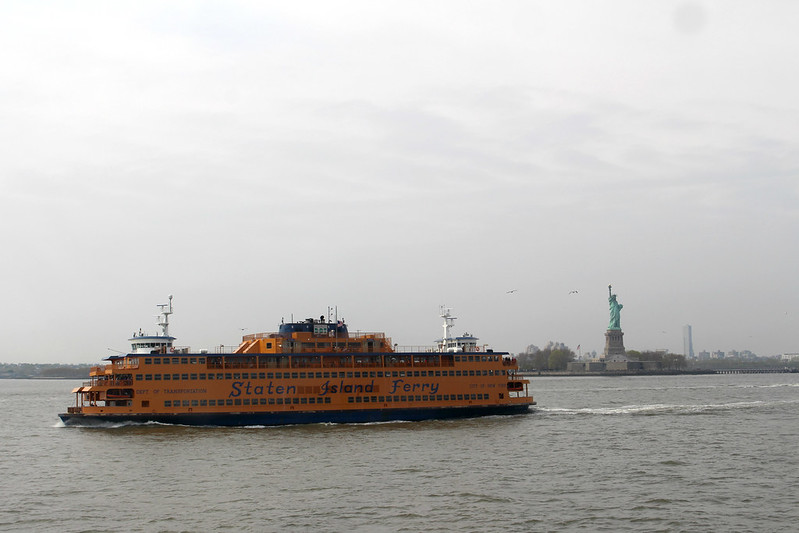
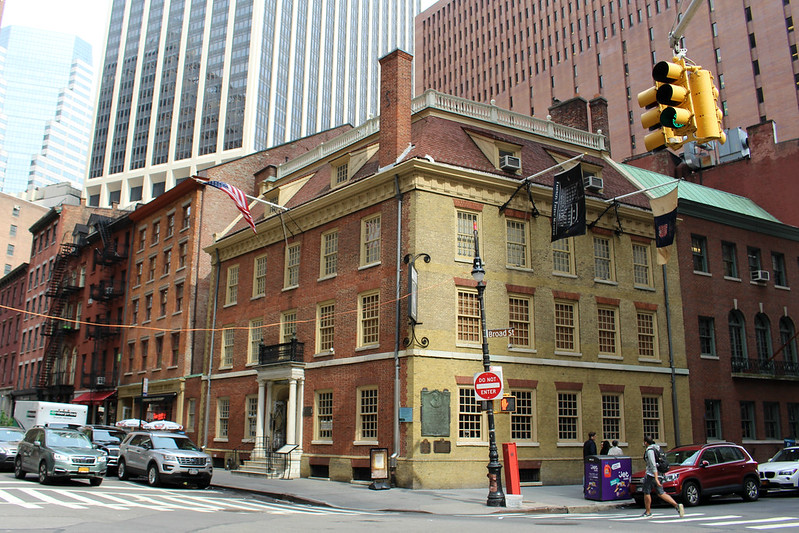
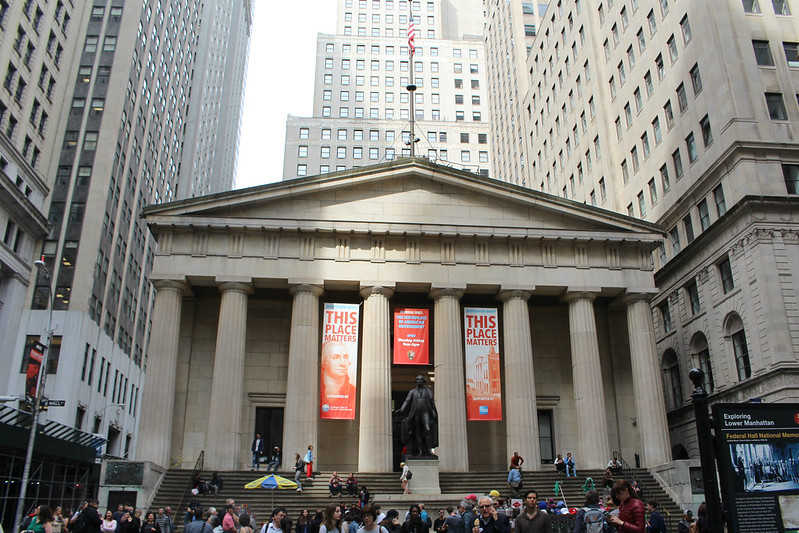
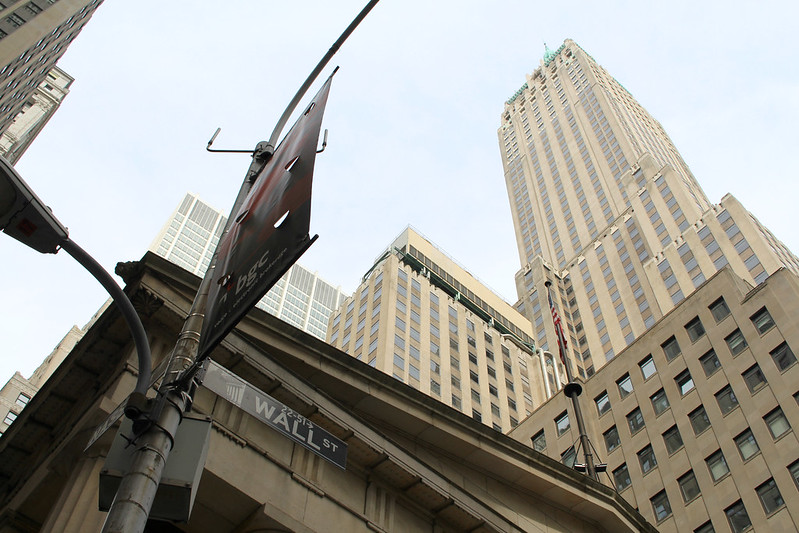
After that we headed to the ferry, grabbed a pretzel before getting on board and took a relaxing ride over to Staten Island. I was told by a few people that this was a great way to see the Statue of Liberty for free and it only took an hour there and back so it was definitely worth it since we were in the area anyway. After the ferry we hadn't got any plans so we looked on our map to see what was in the area. We decided to walk to Wall street just to see it and then on to the World Trade Center memorial. On the way we stopped off at Eataly in Westfield World Trade Center to get some lunch which was delicious. 

It felt very surreal being at Ground Zero. I didn't really think about how it would feel being there, but looking up at the Freedom Tower and all of the surrounding buildings all I could do was imagine what it was like that day. I really didn't expect to feel as emotional as I did, but seeing where the towers were and how big the memorials are with all of the names around them, it was overwhelming. 

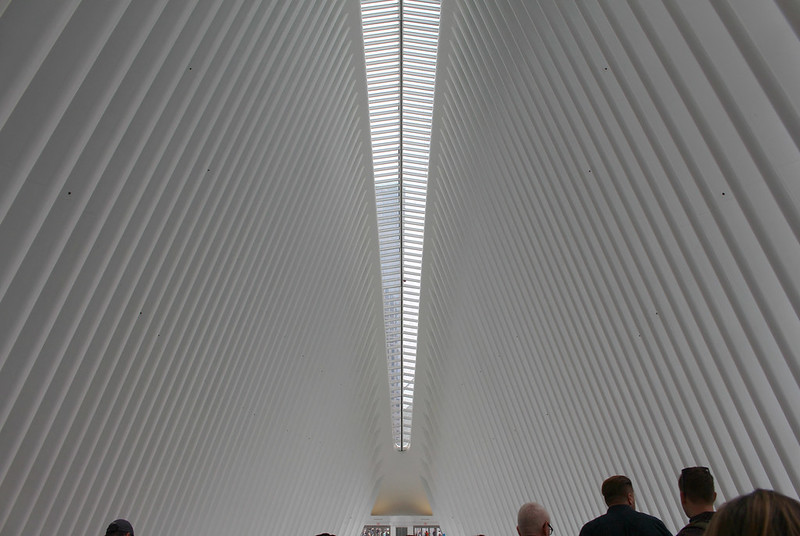
We saw the Oculus and were intrigued so we wandered in and had a look around the shops and got some coffee. The Oculus, which I hadn't heard of before is essentially a giant, crazy looking train station/shopping centre. There was a Sephora there which I of course had to have a look around, but I got overwhelmed with everything and left without buying anything. 

After doing a lot of walking we got the Subway home and that night we went out to a restaurant called Salt and Bone which had literally just opened in Astoria. More on that in my food post!

NY24 NY26 NY27 NY28 NY29 NY30 NY31 NY32 NY33 NY34

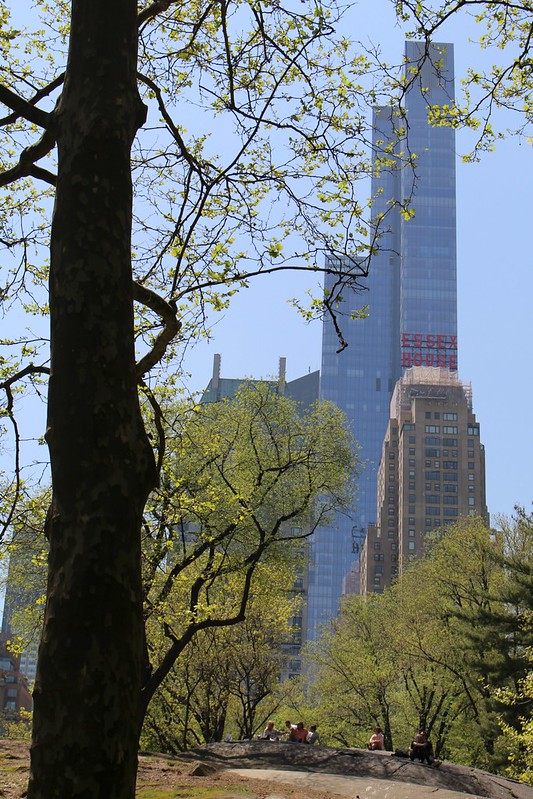
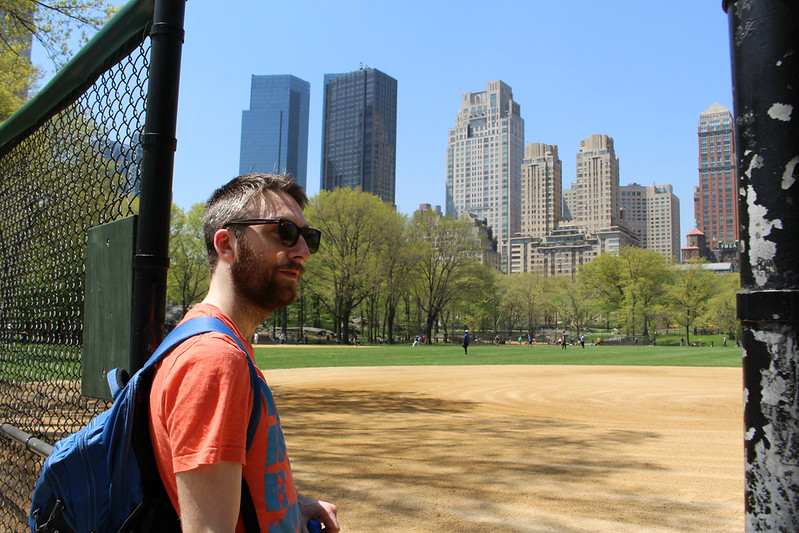
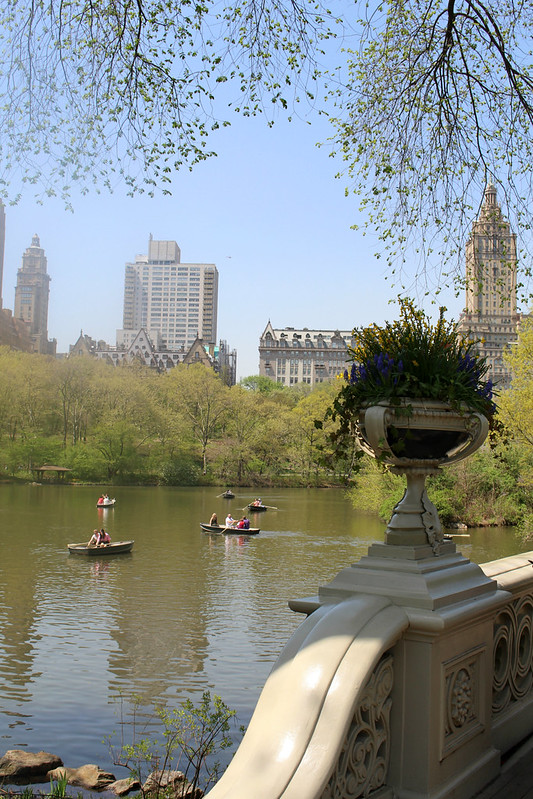
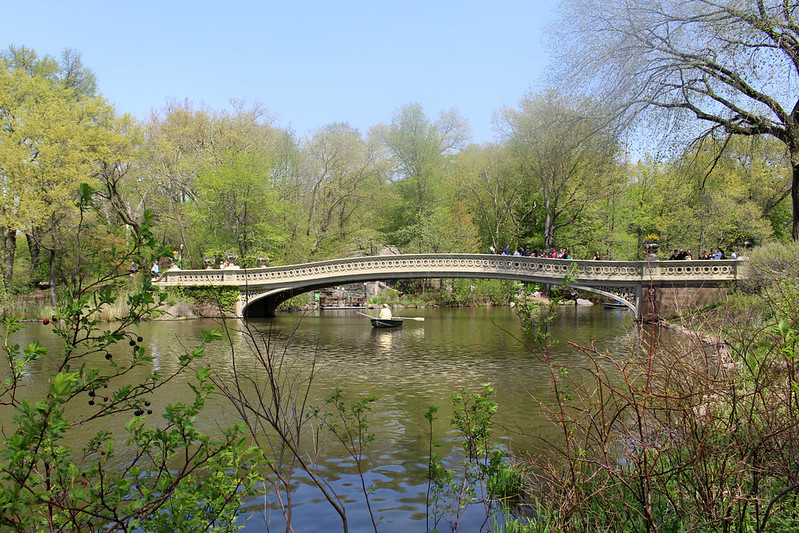
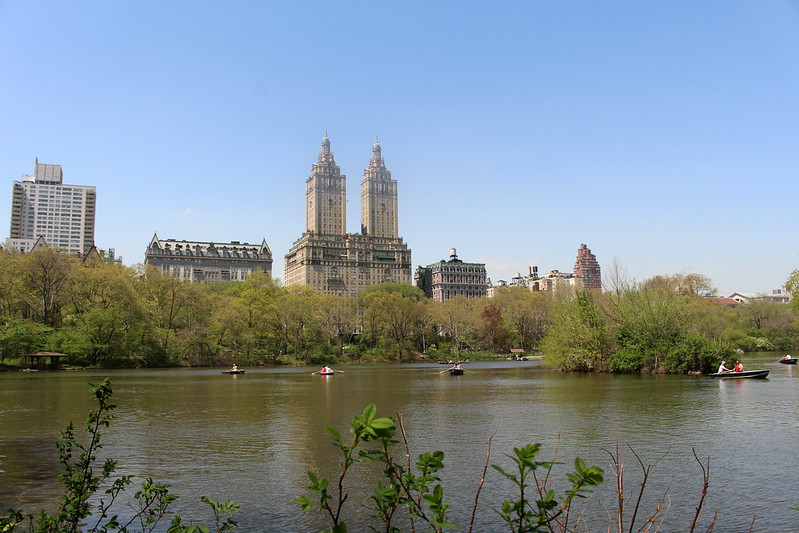
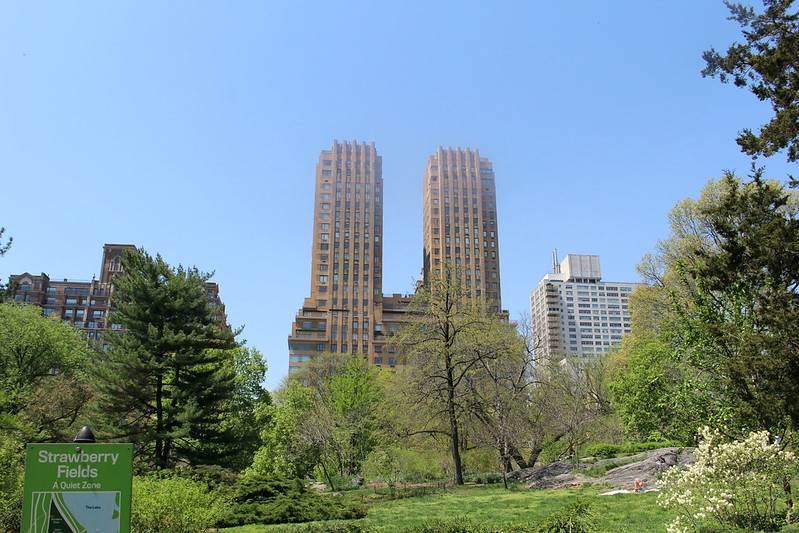
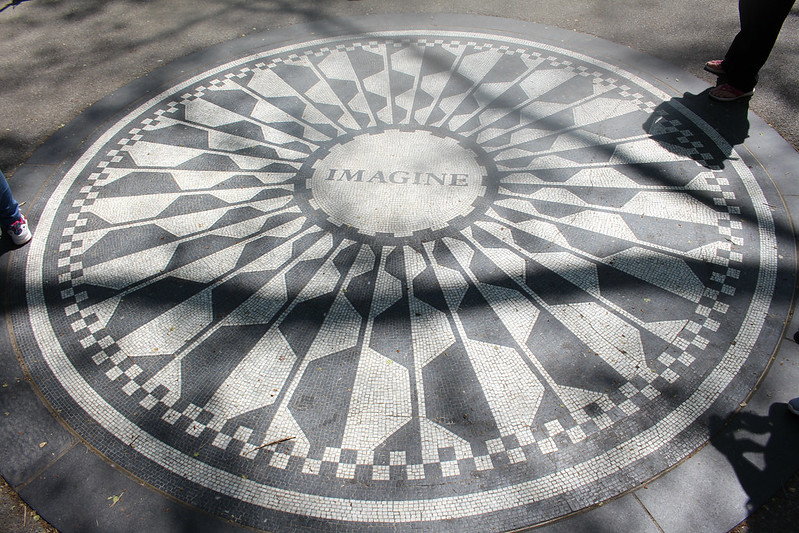
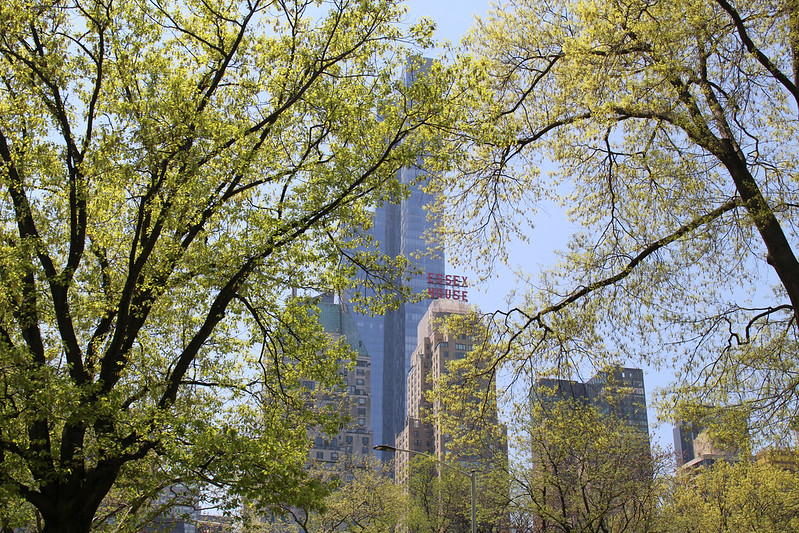
As you can see, our third day was spent exploring Central Park on what was one of the hottest days of our trip. I was incredibly excited to visit Central Park, it was high up on my list of must-see places (obviously). We strolled through the park to the Bethesda Fountain and then to Strawberry fields and the Imagine mosaic. We exited at the northwest corner of the park to see the Dakota hotel where John Lennon and Yoko Ono lived (and where John was murdered, morbid!). It was great to see a building with such a rich history having been built in 1882. Some of the early photos of it are crazy because there were no buildings around it and now it's probably one of the smallest buildings in the area. 

We got pizza for lunch again and Pinkberry for dessert which was such a relief in that heat (I think it got up to about 28 degrees that day). We went home early because Simon had booked us tickets to the Secret Loft comedy show in Brooklyn that night. 

We got the subway to the Jefferson Street station in Bushwick and walked around for a bit taking photos of the graffiti. We then went for food in Tres Hermanos, a little Mexican place and then onto a bar for some drinks before the show. This was one of those hugely trendy events where they email you on the day to tell you where the address of the place is. We walked around some quiet streets in Bushwick looking for this "secret loft" and I was getting a bit worried but we found it and it ended being such a fun night with beer and free pizza in some guy's converted loft with about 6 or 7 hilarious female and male comedians. We got an uber home because it was only a 20 minute drive back to Astoria and it was quite late so we didn't want to navigate the subway when we were so tired. If you get a chance I'd highly recommend getting tickets for the Secret Loft. I think it's on once a month but it's such a fun and inexpensive night out and it was such a unique experience for us. 
NY35 NY36

I hope this wasn't too long and boring, I hope if you made it this far you enjoyed my recap of the first few days of our trip. I'm so excited to share the rest of the photos and our experiences. If you have any questions please don't hesitate to ask, hopefully some of this was helpful if you're planning a trip to New York.

I'm hoping to have part two next week so keep and eye out for that!

Emma x


Sunday, June 11, 2017

Face Of The Day- Lady Danger

The other day I went into Arnotts to get another MAC Prep + Prime Lip because I haven't had one for a while and I was really missing it. I had been saving up some empties for Back to MAC so I got Lady Danger lipstick which I've never owned before but have wanted to try for years. 

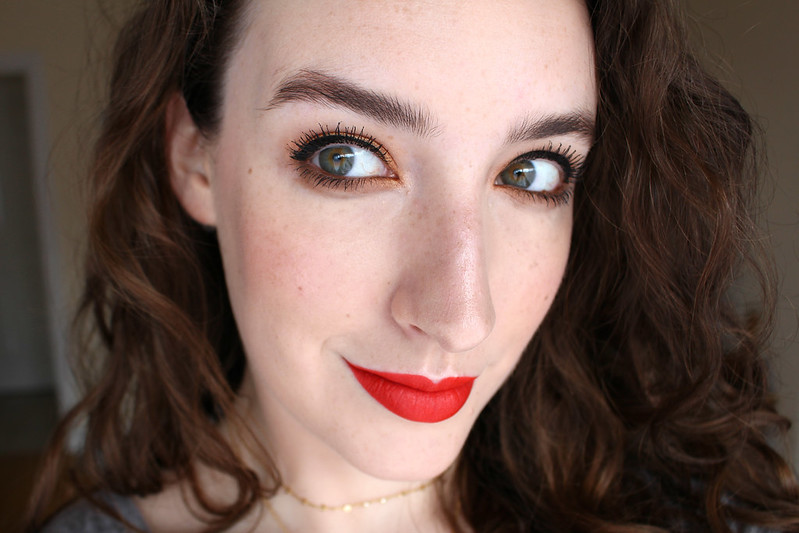
I tried it the next day with very minimal makeup and loved it immediately. It's the perfect yellow based red that I've been wanting for Summer. I had more time today to play around with my makeup so I went a bit crazy and paired it with some gold eyeshadow from the Lorac Pro palette. I thought it was a bit much at first, but I kept the skin and brows quite simple so it wasn't too overpowering. There's something completely clashing about the gold and red combination but because they both have warm tones it somehow works (hopefully!)

FOTDLD2

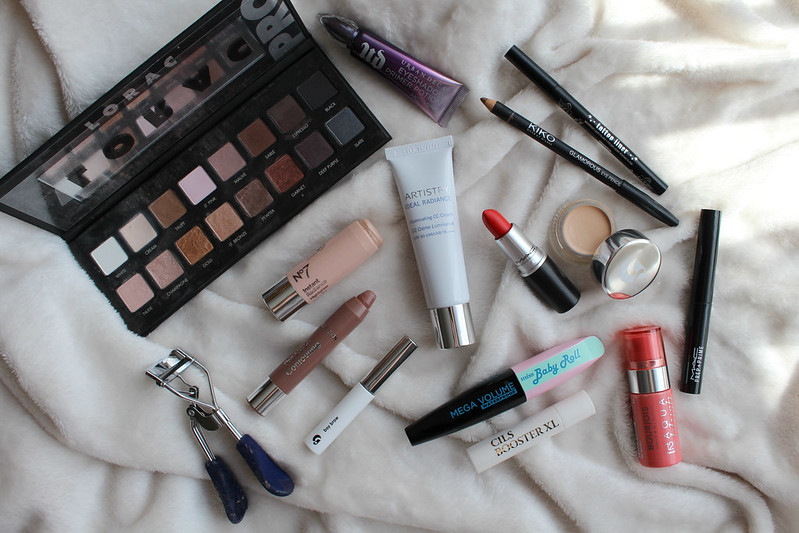
I went to an event for the brand Artistry last week, I had heard of them but didn't know much about their products and had never tried any myself. I got chatting to one of the Artistry ladies and she very kindly ended up giving my their Ideal Radiance Illuminating CC Cream to take home with me. I was so excited to try it out as I always love to discover new brands. I used this for the first time yesterday and I was hugely impressed with how my skin looked. It blended out easily and gave my skin a subtle luminosity. It has broad spectrum UVA/UVB protection and SPF 50 so it's perfect for trying at this time of year. I want to write a full review of this and compare it to the IT Cosmetics CC Cream which I'm also trying out at the moment so keep an eye out for that.

I curled my lashes with the Eyeko Lash Curler before starting my eye makeup. I used Glossier Boy Brow on my brows (you can read my full review here). Then I applied some Urban Decay Primer Potion and the Gold shade from the Lorac Pro palette. I blended it out and added some of the matte brown shade Taupe under my eyes with a little bit of Gold blended in too. I love this palette a lot, it's got a great selection of shades and the pigmentation, especially in the satin shades is amazing. I applied a thin line of Kat Von D Tattoo Liner and my current favourite lash combination Lancôme Cils Booster XL and L'Oréal Miss Baby Roll mascara (which you can read about in more detail here). 

FOTDLD13

I blended some Glossier Stretch Concealer under my eyes with a Real Techniques Mini Eraser Sponge. This was only me second time using it so I want to give it more time before I write a more in-depth review. To finish my face makeup I used the Collection Precision Contouring stick in Light which I've been loving recently. It's a great shade for fair skin and it's hard to overdo it because it's not too pigmented but is creamy and easy to blend so it looks quite natural. I added a small amount of the Bourjois Aqua Blush in CocoriCorail which is one of my all time favourite liquid blushes and if you don't have one do yourself a favour and get one, they're so amazing, especially during the Summer (see them in action here). 

FOTDLD5

I finished my skin with the No7 Instant Radiance Highlighter which I love for adding a quick glow to the tops of my cheeks, down the centre of my nose and on my cupids bow. It's subtle and blends easily so it's a great one for the Summer when you want a quick glow to your skin.

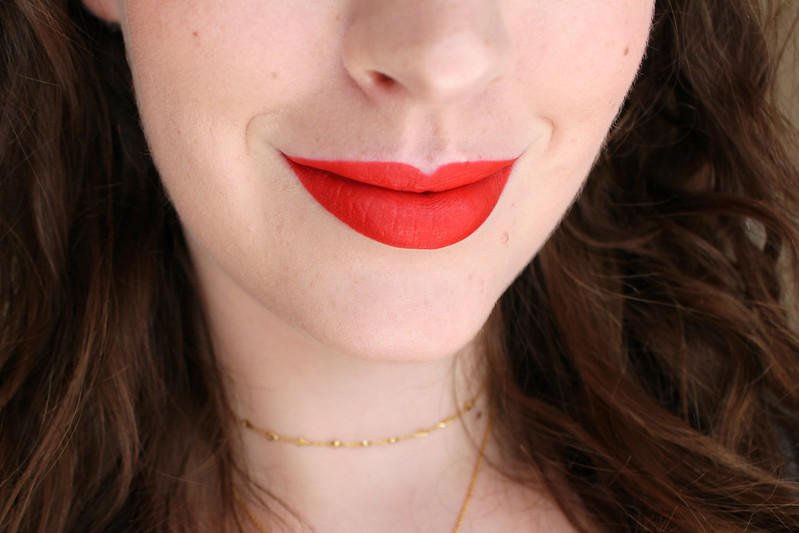
To finish I used my new MAC Prep + Prime lip and let it sink in for a minute before applying Lady Danger. I didn't use a lip liner because I didn't want the lips to look too overdone. This lipstick totally lives up to my expectations. It's matte so it lasts really well and doesn't feather but it definitely benefits from using the lip primer first otherwise it could feel quite drying. I think I'm going to be wearing it a lot in the Summer with just CC Cream and lots of mascara. 

FOTDLD4

To completely finish off the look I lined my lower waterline with my KIKO Glamorous Eye Pencil in 401 which is a gorgeous bronze shade (and now seems to be discontinued) but I love how it looks against my green eyes. This is a lot more makeup than I would usually wear on a daily basis but I love playing around with different colour combinations at the weekend when I have a bit more time.

What do you think of this look? Have you tried any of these products?

Emma x


Wednesday, June 7, 2017

No7 Airbrush Away Foundation

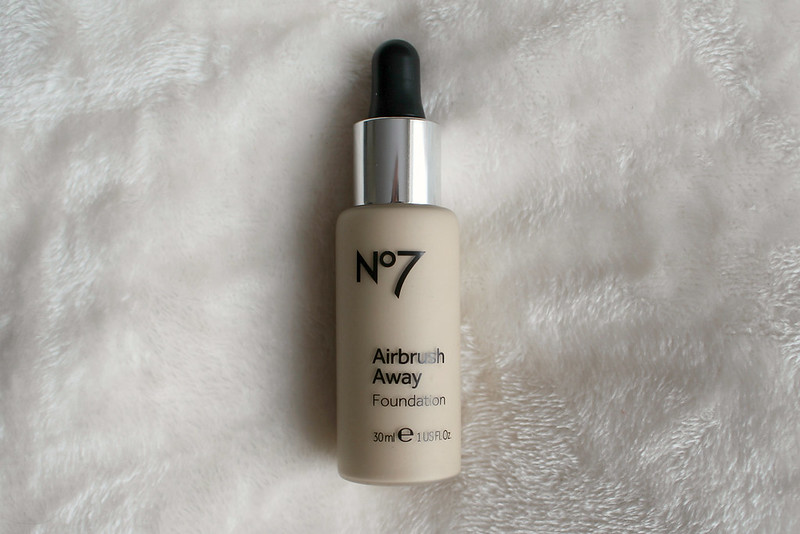
If you've been following my blog for a while, you'll know I'm a big fan of No7, particularly their foundations. I've written about their Beautifully Matte, Beautifully Matte Light, Superlight and Stay Perfect Foundations all of which I love. I was sent the Airbrush Away Foundation in late 2015 and I've since gone through two bottles of it so I thought it was about time I wrote about it.

Airbrush Away is supposed to give a velvet, yet radiant soft focus finish, blurring the appearance of fine lines and pores. It contains Berryflux Vita, an antioxidant ingredient that improves skin hydration and tone.

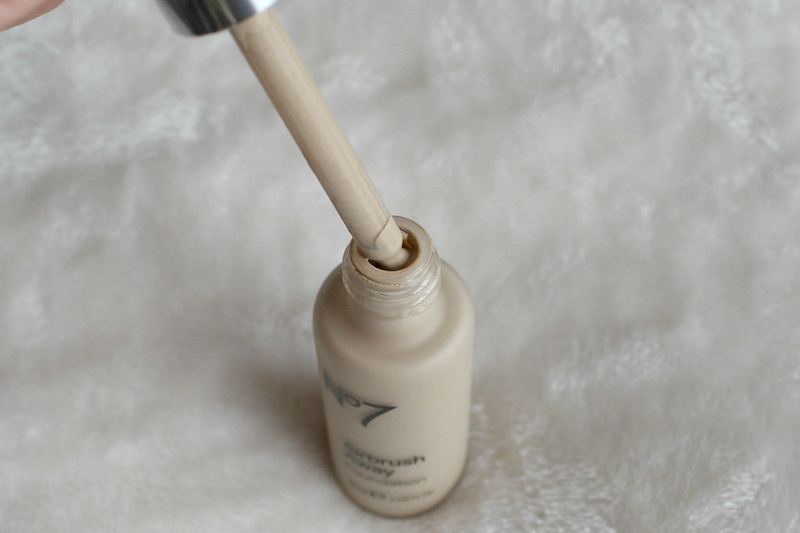
It comes in a glass bottle with a dropper (similar to the Lancôme Miracle Air de Teint) so you have to shake it before use. It's a silicone based foundation (it contains dimethicone) so it feels silky and spreads and blends easily. If you don't like silicone primers, you probably won't like this. Although I'm not the biggest fan of silicone primers as I tend to prefer a more hydrating primer, because this is in the form of a foundation I don't mind the silicone feeling at all and I prefer this to using a separate silicone primer like Benefit The Porefessional or L'Oréal Nude Magique Blur Cream.

N7AA4.1

I have normal/combination skin and although I have no problems with large pores, I do find that this does give that airbrushed look without sitting in my pores or blocking them. It gives medium coverage and a more powdered looking finish at first, but as the day does on I get oily around my t-zone, so I need to use powder or the oiliness is quite noticeable on my nose as it is with most other foundations I use. I don't like using extra powder on top of this foundation because it already has powders in it so I just bring blotting papers with me to use during the day and that does the trick. If you need it to last longer and don't mind looking quite matte, you could powder on top to set it and give extra longevity.

N7AA3.1

One thing I've noticed about this foundation that you may want to consider is that it's unforgiving on dry skin. I tend to use a hyaluronic acid serum or primer first for best results. Like all the other No7 foundations I've tried this blends into the skin quickly and evenly and doesn't streak. Although it has silicone, it's light in texture and feels comfortable on my skin. The downside I would say is that it's probably best suited to normal skin, if you're not too oily or too dry and you like a medium coverage or if you are conscious of the size of your pores, this is a great option. I find that other than getting a bit oily throughout the day, this lasts on me very well and doesn't sit on my skin or look patchy at all the end of the day. 


N7AA1.1
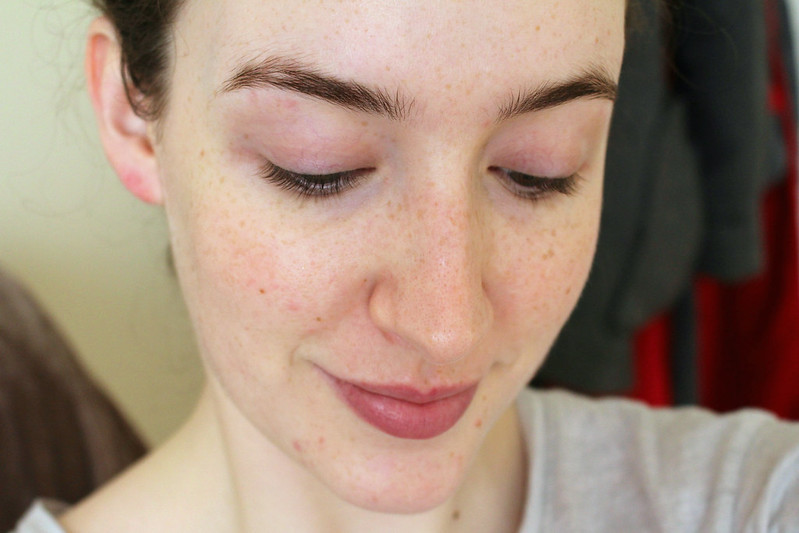
Bare skin

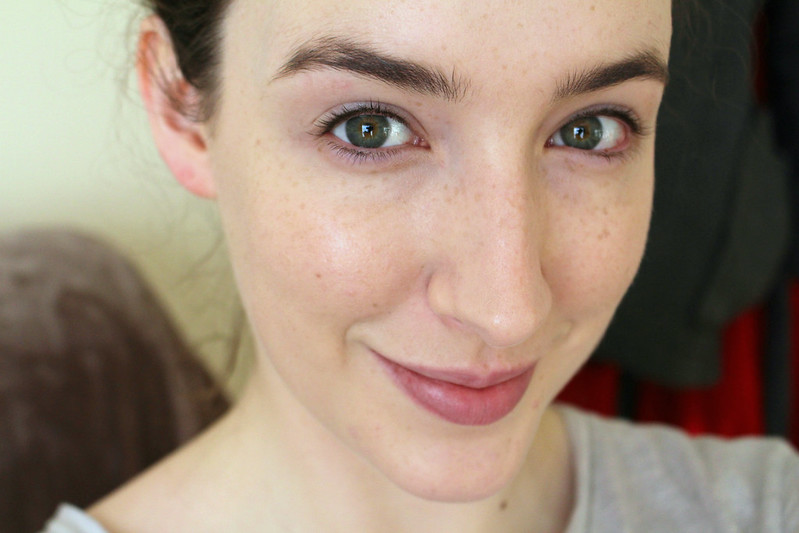
You can see in the photos that it has evened out my skin, covered redness and the blemishes on my chin quite well without concealer. You can also see the pores on my nose and cheeks are a lot less noticeable with the foundation on. 

N7AA2.1
Just No7 Airbrush Away

I tend to wear this on days when I need a bit of extra coverage or if my skin isn't looking it's best and I just want to look a bit more polished. It does have a lot of similarities to the Lancôme Miracle Air de Teint which I absolutely love and I do prefer, but if you want a cheaper alternative, this is a great option. Out of all of the No7 foundations I've tried, this and the Beautifully Matte are my least favourite, only really because of the coverage as I tend to prefer something lighter. However I like having one of them in my collection for nights out when I like more coverage or on bad skin days when I have a breakout and the extra coverage just gives me more confidence. I've gone through two bottles of this and I would definitely repurchase it mostly because I get so many compliments about my skin when I wear it, probably because people are so used to seeing me with lighter coverage.

At €22 it's not cheap but you can always get it with the No7 vouchers and that makes it a bit more affordable. The glass bottle isn't the most travel friendly so I don't take it away with me, Beautifully Matte is better in that sense because it has plastic packaging. It also has more coverage and controls oil better, so there are positives and negatives to both foundations.

If you want a foundation that won't cost a fortune, that gives medium coverage and flawless looking skin and blends in quickly and easily, Airbrush Away is definitely worth trying out. There are 17 shades which is quite good for a "drugstore" brand. However I'm the lightest shade, Calico, and as I've said before I think No7 could do with having a shade lighter than that as I know a lot of Irish woman have even fairer skin than me and find it hard to find a good, inexpensive foundation to match their skin tone.

Have you tried Airbrush Away or any other No7 foundations?

Emma x

Sunday, June 4, 2017

Lancôme Matte Shakers

Last year Lancôme released their Juicy Shaker lip glosses that quickly became a firm favourite of mine despite not usually being a lip gloss fan. The combination of nourishing oils and pigment encased in the most fun lip packaging ever, made for one of my favourite lip innovations of last year. Seriously, if you haven't tried them yet, I can't recommend it enough! Earlier this year I saw Lancôme were bringing out a matte version of the Juicy Shaker and I was very excited to see how the two would compare.

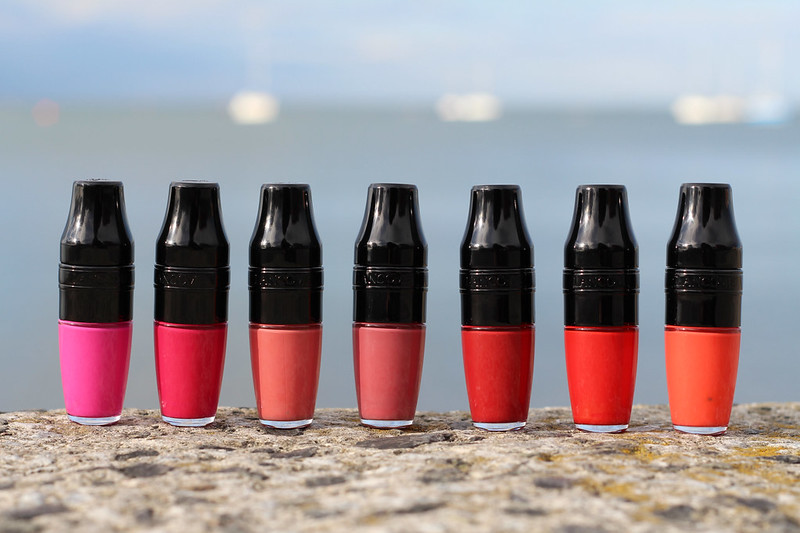
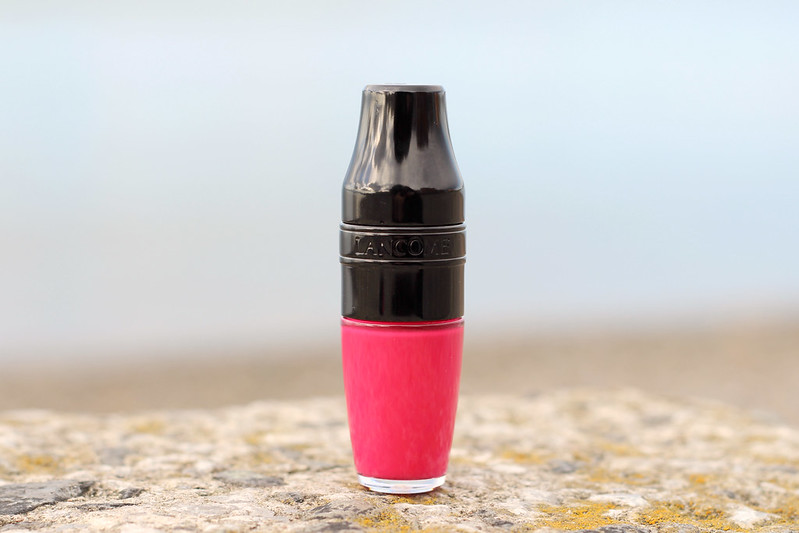
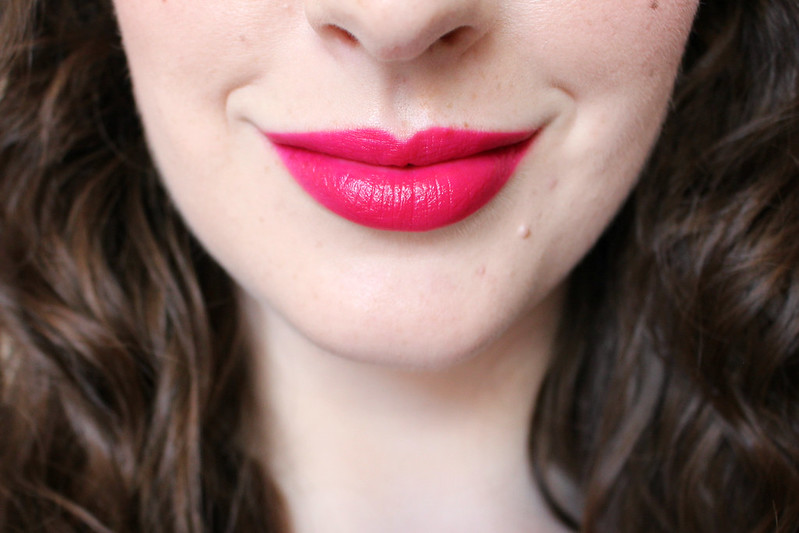
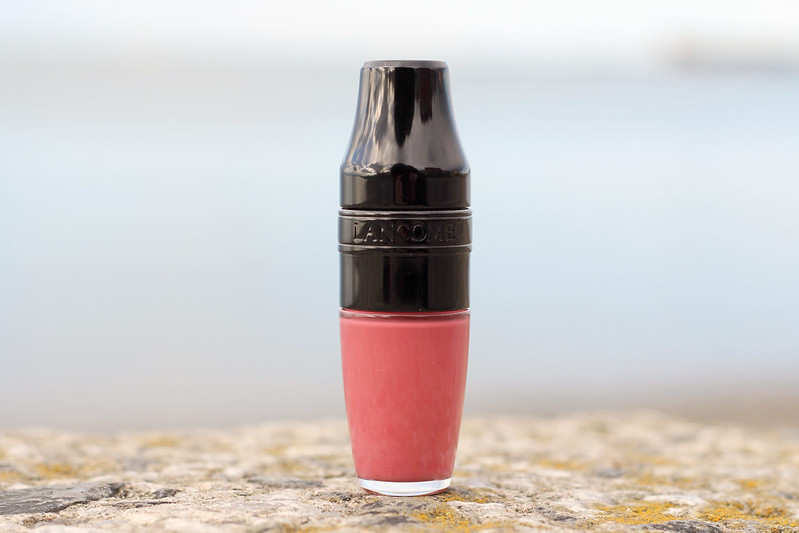
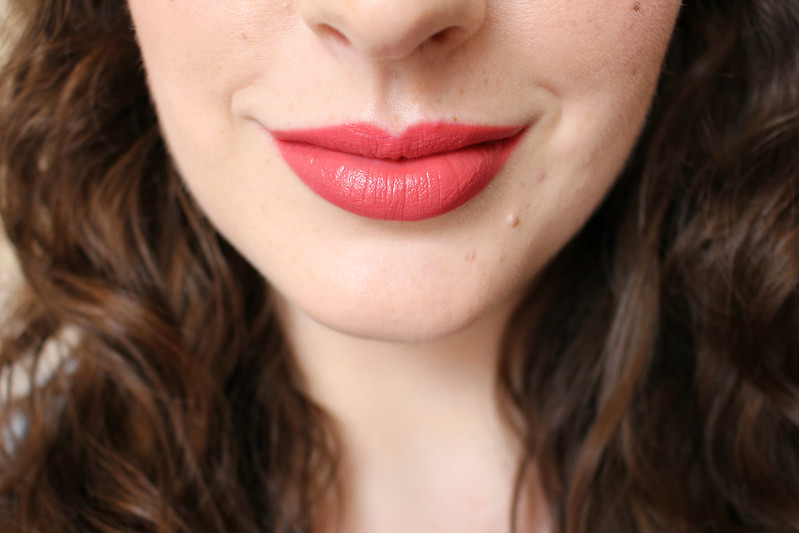
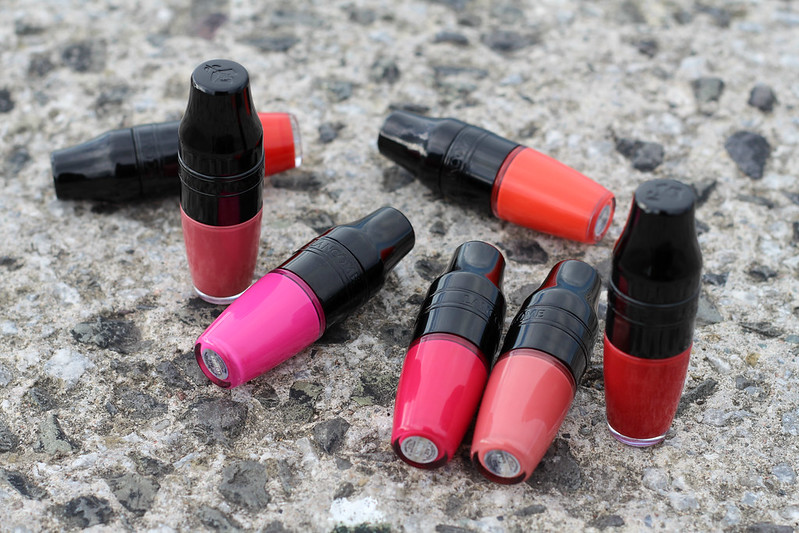
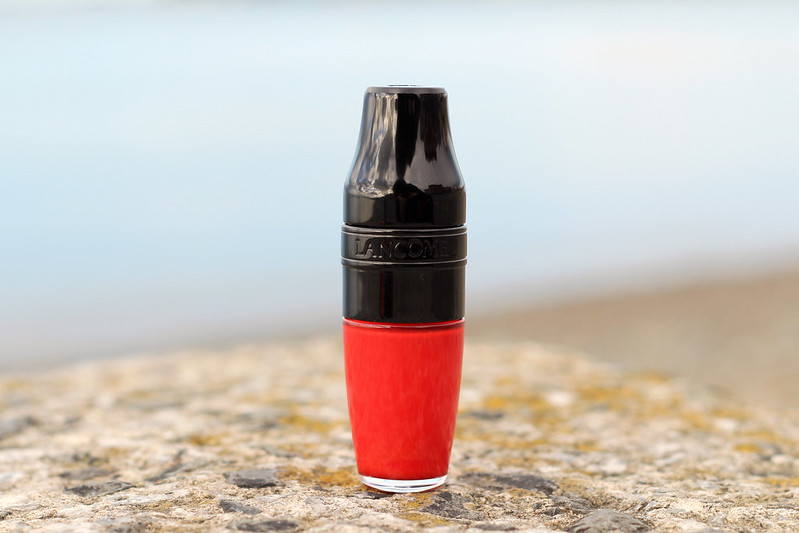
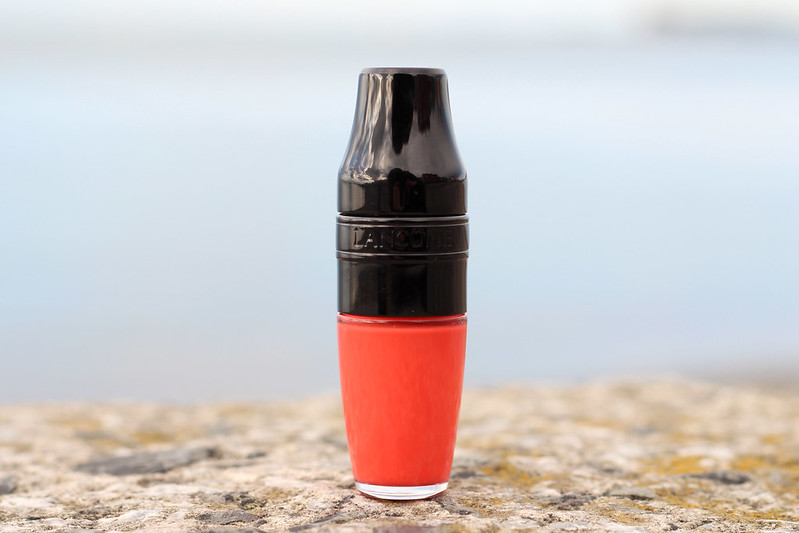
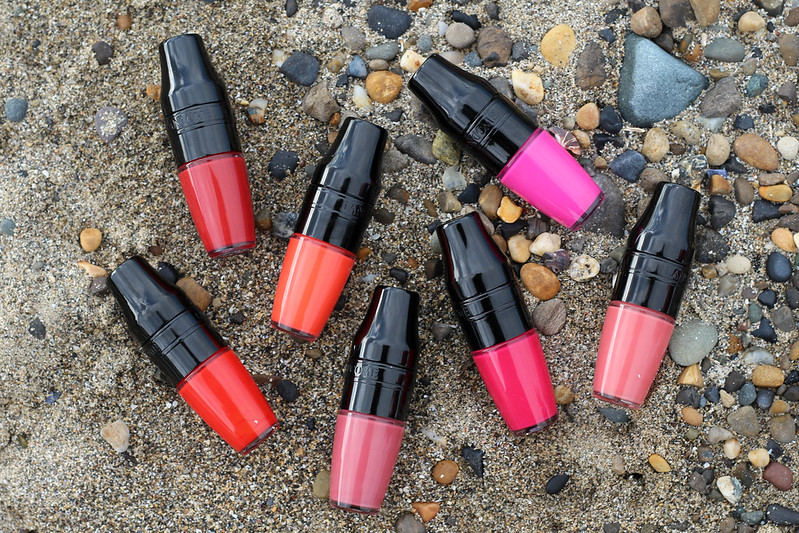
The Matte Shakers were released in May and come in seven gorgeous shades: Energy Peach (272), Beige Vintage (270), Yummy Pink (379), Kiss Me Chérie (374), Red'y in 5 (189), Pink Power (378), and Magic Orange (186).

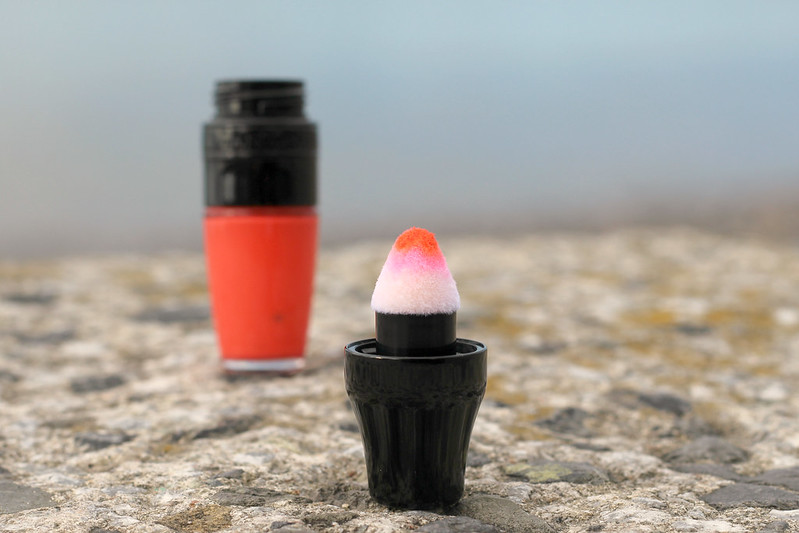
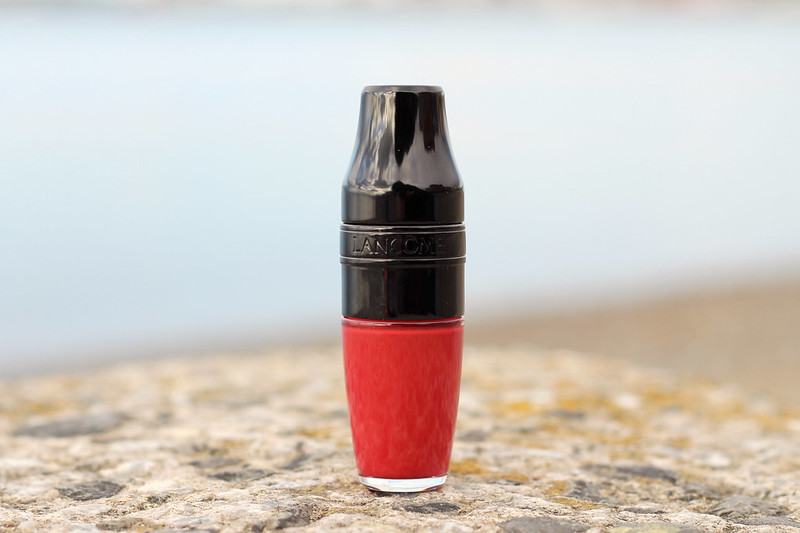
The innovative Ultra Thin Film technology means that the emulsion is twice as fine and intense as a conventional lipstick to give a second skin texture on the lips with rich pigmentation for a bold colour payoff. The cushion applicator has been redesigned to give a more precise and easy application. Like the Juicy Shaker, you have to shake the bottle before application so that the cushion is coated with just enough product for one layer of colour.

I was sent all seven shades to try out (yes I'm aware how jammy that is!), I couldn't contain my excitement but I wanted to be thorough and take the time to try out each shade and wear them all properly before writing a review. As you may have noticed, I'm a bit of a lipstick fanatic and I think it's made me so much more critical of any lip products I try because if I don't love them, I just don't have room for them in my collection. 

LMS2.1
Yummy Pink, Pink Power, Energy Peach, Beige Vintage, Kiss Me Chérie, Red'y in 5, Magic Orange

As I said I had been incredibly excited to try these out since I first heard about them. I was curious as  to how a matte formula was going to work in the Juicy Shaker packaging. When I saw they had the same cushion applicator I thought the application might be tricky, luckily I was wrong and the newly designed cushion has meant that applying it is so much easier than I thought it would be. 

The formula is so thin that you can apply one light layer if you don't want too much intensity but it's also easily buildable to allow for full opacity without feeling heavy. I was so impressed with how pigmented the formula is compared to how light in texture it is. It doesn't feel like you're wearing anything on your lips. 

LMS20 LMS3 LMS19
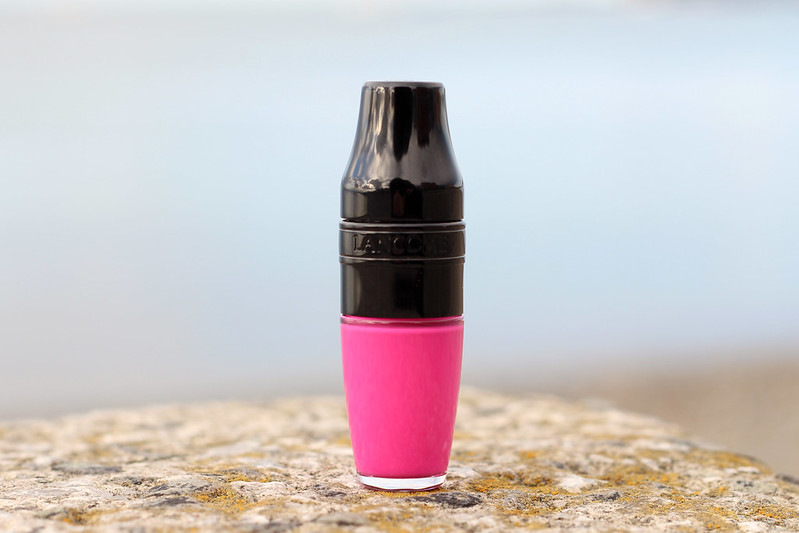
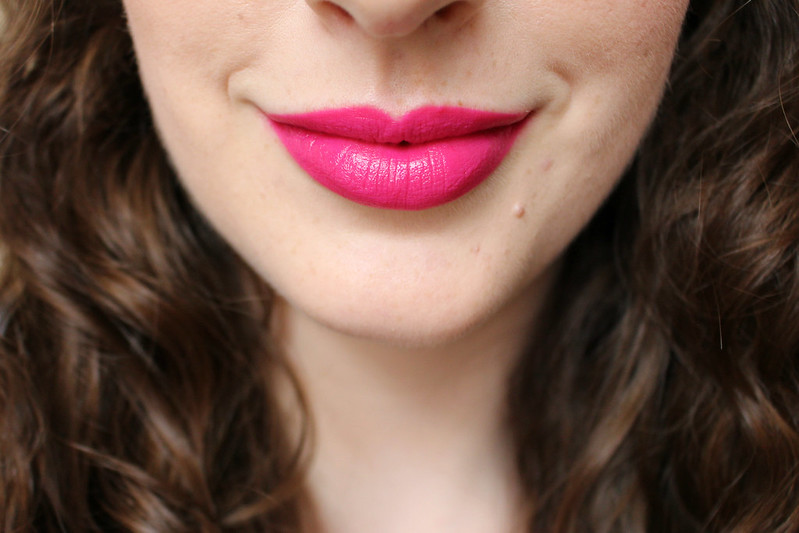
Yummy Pink

LMS4 LMS17.1
Pink Power

LMS5 LMS15
Energy Peach

LMS21 LMS5 LMS14
Beige Vintage

LMS8 LMS10
Kiss Me Chérie

LMS7 LMS13
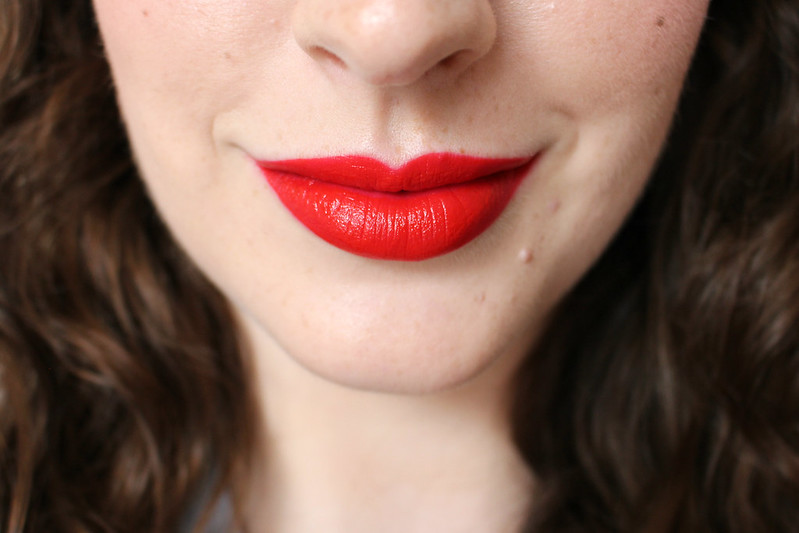
Red'y in 5

LMS6 LMS11
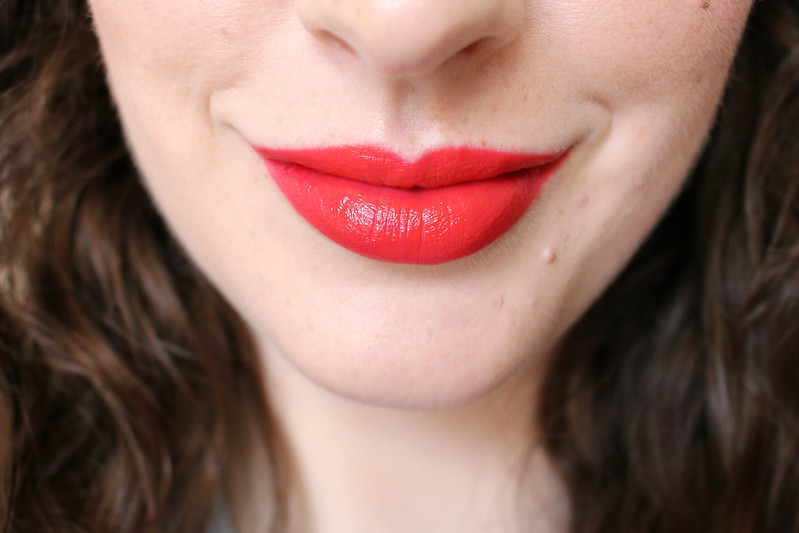
Magic Orange

LMS22

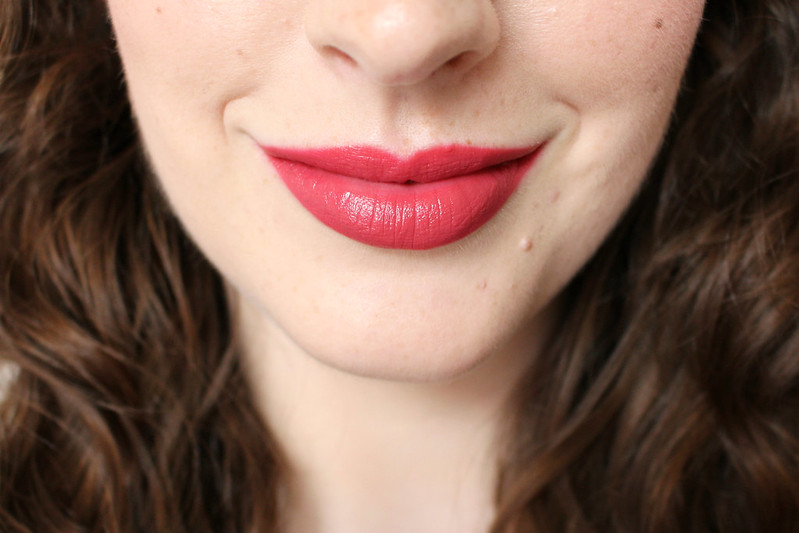
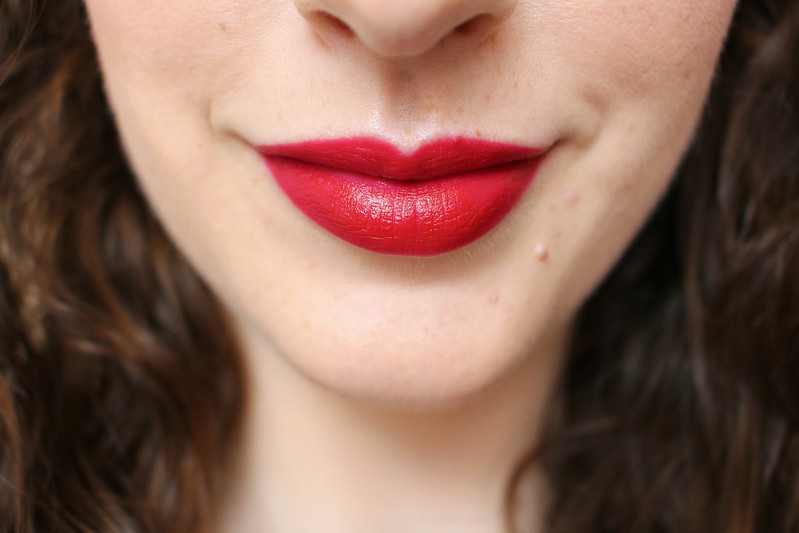
At first I wasn't sure about the colour range, I thought some of them were a bit too similar to each other. Although some of them look similar in the bottle, they actually are all very different. There is a shade for everyone here whether you like something subtle like Energy Peach or Beige Vintage or if you're a fan of bold shades, Yummy Pink and Magic Orange are so vibrant and perfect for Summer. The finish is more of a modern matte, it applies easily and then dries down a couple of minutes after application but doesn't look or feel too matte or drying.

I like that they've kept the range of shades small, usually with a lip collection there's at least one dud shade that I wouldn't wear but I think you'll agree every one of these colours is so beautiful. Another bonus to having such a light but highly pigmented formula is that the shades are easy to layer. The whole idea behind the Matte Shakers is that you can create easy lip combinations such as gradient and ombre lips and even duo lips with one shade on the bottom and one on the top. I've been wearing the Ombré look by applying a shade all over such as Red'y in 5 and then a lighter colour like Magic orange in the centre and blending it out for more dimension. This is a great and subtle way of making your lips look bigger than they are.

I'm so impressed by the lasting power of these. I don't use a lip liner with them but you can if you want to reshape your lips a bit first or to make them last even longer. I apply directly from the cushion and I'm amazed at how easy it is to get a precise line around the edge, I honestly thought it would be a lot more difficult and that I'd need lip liner every time. Sometimes I leave the edge with a slightly diffused look by running a cotton bud or my finger around the line of my lips to give a more undone and relaxed finish.

They do fade as the day goes on unless you reapply, however the fade is quite natural and the pigment remains so it's not that noticeable. They definitely stain your lips, I've found the pigment in the brighter shades difficult to remove if I've been wearing them all day. You'll need an oil based makeup remover if you want to remove all trace of colour. It doesn't bother me at all, but it's something to consider if you don't like products that stain your lips.

Between the Juicy Shakers and revamped L'Absolu Rouge collection last year and now these Matte Shakers, Lancôme have really been dominating the lip product market for me recently. I credit a lot of the success and innovation to Lancôme's makeup Creative Director Lisa Eldridge who obviously has such a passion and talent for creating new and exciting products.

If I hadn't been sent these I definitely would have been buying at least one of the shades because I'm such a big fan of Lancôme at the moment and I'm always interested in trying something that's new and exciting for the lips. I honestly don't know if I could choose which shade is my favourite, they're all so beautiful.

As usual, you can buy the Matte Shakers from Brown Thomas, Arnotts and Boots for €22.50.

Have you tried the Matte Shakers yet? Which shade would you like to try most?

Emma x

Related Posts Plugin for WordPress, Blogger...